How to Draw a Line With Gradient Shading in Inkscape

Introduction to Inkscape gradient
In this article, we are going to learn how to work with the gradient in Inkscape. The gradient effect is used to give a sense of three-dimension to an object and it is usually accomplished by blending multiple colors or different shades to create illusion of dimensionality. Gradient can also be used for pure aesthetic purposes but the common uses of gradient is in web pages for various forms and button. It is also used on desktop applications. In Inkscape there are various method using which we can create gradient and which can not only be applied to the fill but also the strokes to create some stunning effects.
Steps of Inkscape gradient
Here are the following steps mention below
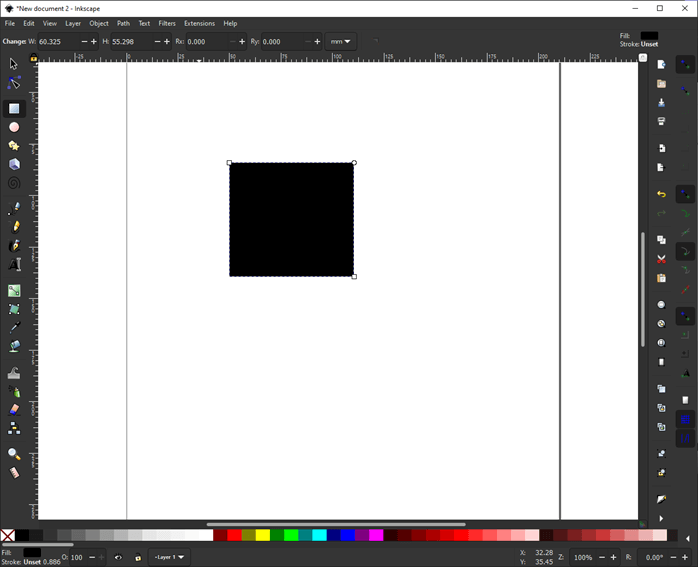
Step 1: Let's start by creating a square using create rectangle and square tool or press R. By default, it will have black fill and no stroke.
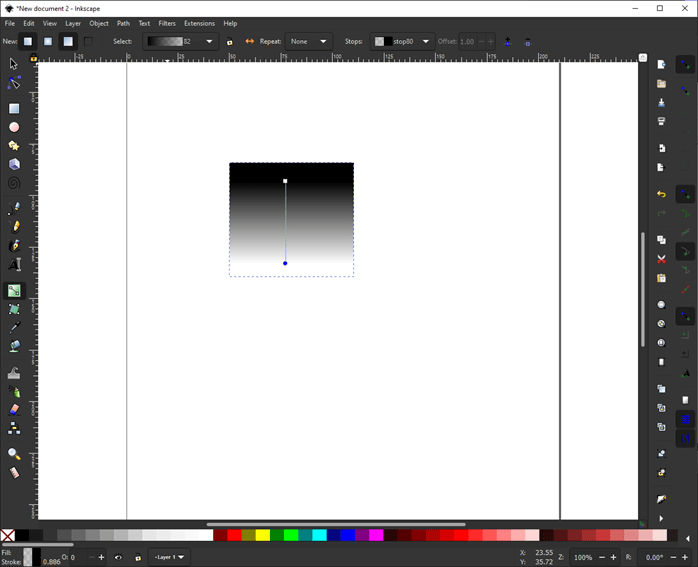
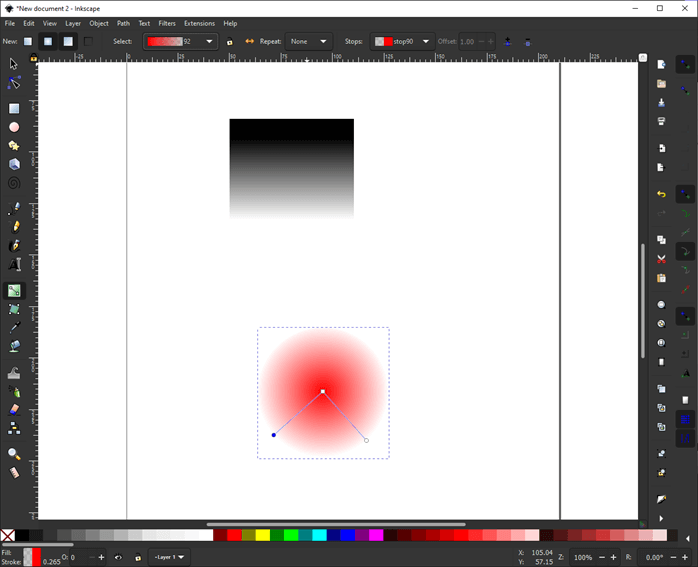
Step 2: Then use the create and edit gradient tool or press G and then drag onto the square object which will create a gradient. Click first on where you want to start the gradient and release it when you want to end your gradient. By default, a linear gradient will be created. You can change the angle of the gradient by dragging it in different direction. But for more accurate degrees you can hold Ctrl for 15-degree increments.
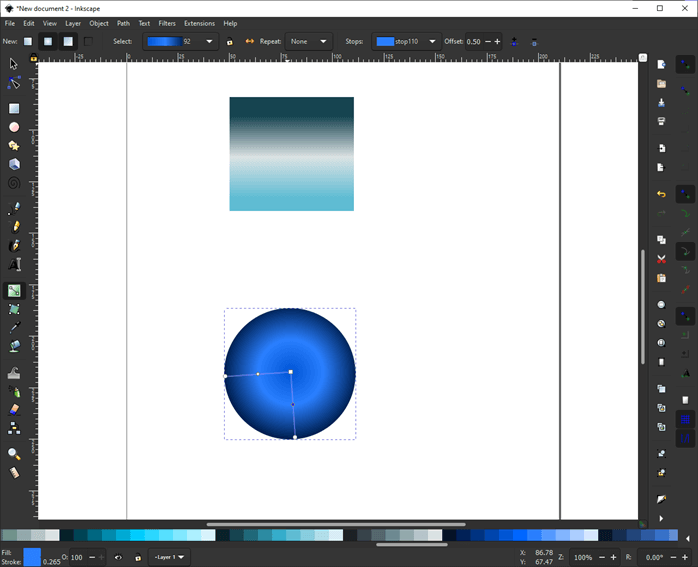
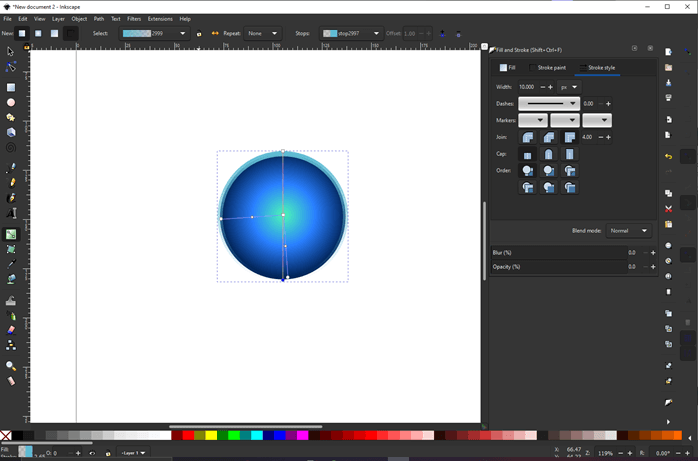
Step 3: Then using create circle tool or press E we have created a circle and then again use the gradient tool but this time we will select create radial elliptical or circular gradient from the control bar. Drag it from the center and release. Thought this method will not create gradient from the center as you have to guess it.
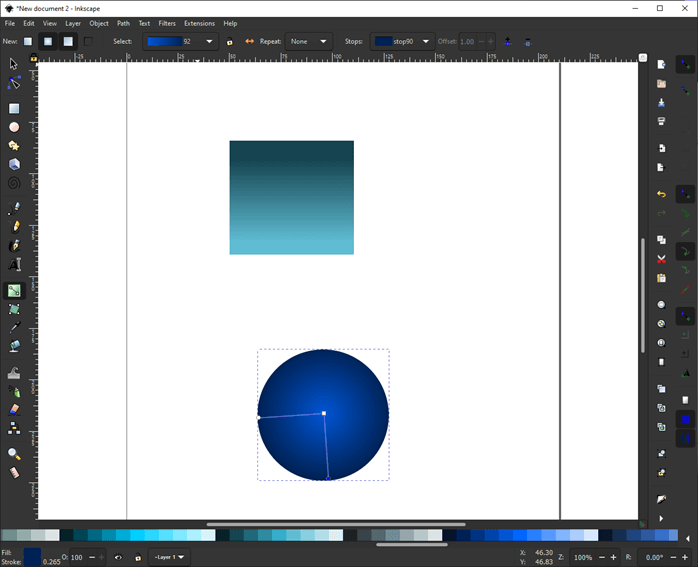
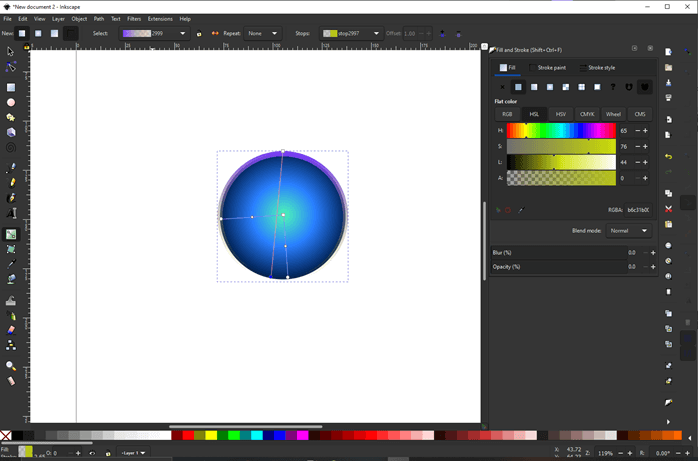
Step 4: The gradient we have done were fading to white but what if we want to change the color of gradient and also the color to which it fades, then we select the nodes in case of square top node will change the color where it starts and the bottom node will indicate the color of the gradient to which the original color fades or mixes in. In case of circle, it is radial gradient so it has two end nodes but you can select either to change the color of the gradient.
Step 5: Now if you want a different color in a gradient than the one which are created from the two color than you can insert new stop from the control bar. This will add a new node which is diamond shaped as the start node is square and the end node is circle. You can also drag the stops and change the position to where you need the color transition. The method to add a stop is similar in both linear and circular gradient. Regarding the color selection we have a bar at the bottom with preset colours but if you want to select from another image or object than you can pick from it directly using Pick color from image tool or press D
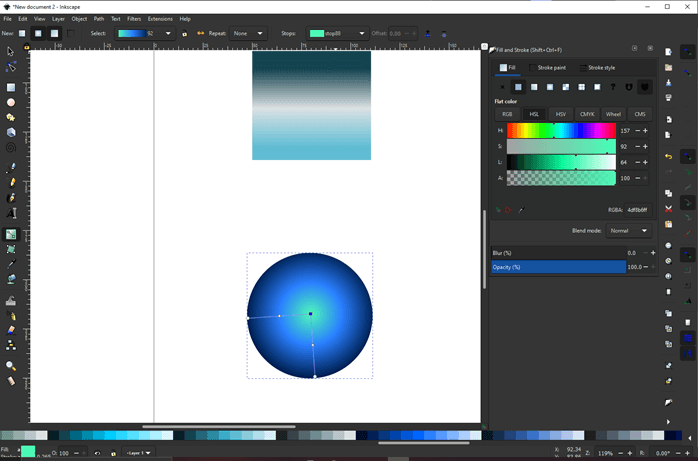
Step 6: Next we open the Fill and stroke panel or press Shift + Ctrl + F to change the color and have a bit more control.
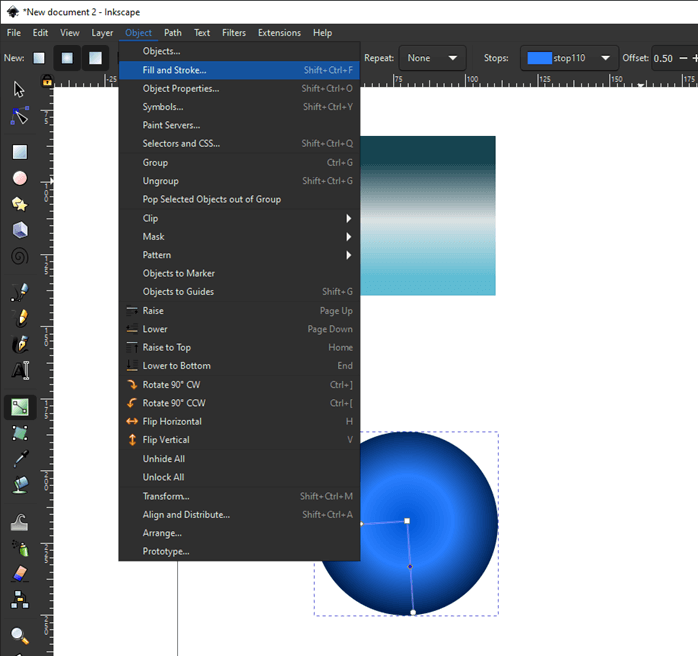
Step 7: Before selecting any color make sure that you have selected any of the nodes in the gradient if not then if will fill the entire shape with one color. So, after selecting any node, it may be the start, end, or in between, you can change the fill of the flat color using available color modes like RGB, HSV, HSV, CMYK, Wheel, CMS. We will be using HSL which is hue, saturation, and lightness. Hue decides the color, saturation decides how intense or dull the color is and lightness decides how light or dark you want. If you want to remove any specific color then press the x icon before the flat color
Step 8: Until now we have used a gradient on fill but we can also apply those on the stroke. To add a stroke to an object first select it and shift-click on the color at the bottom bar or right click on the color you want and select set stroke. This will give us a flat stroke.
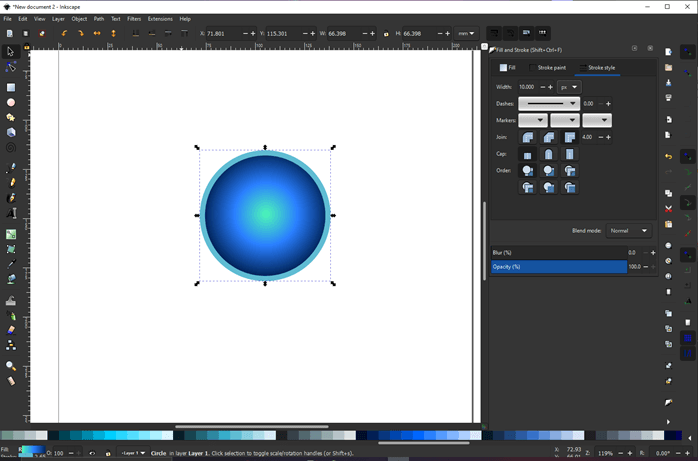
Step 9: Now select the gradient tool and we will create a new linear gradient but one crucial thing is instead of creating gradient on fill we will create a gradient on stroke. Then drag end to end of the circle.
Step 10: Then you can select the nodes and again change the color which you want for the start and the end and also you can insert new stops
Step 11: Now if you reduce the size of the gradient then you can get some interesting effects as shown.

Step 12: Now let us see how the repeat and reverse works. First, we have created a radial gradient on a square
Step 13: If you want to reverse the direction of gradient then click the reverse the direction of gradient button.
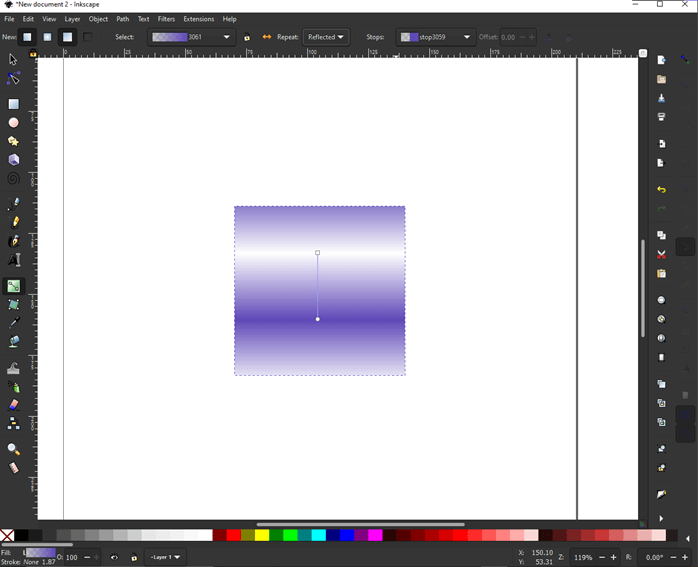
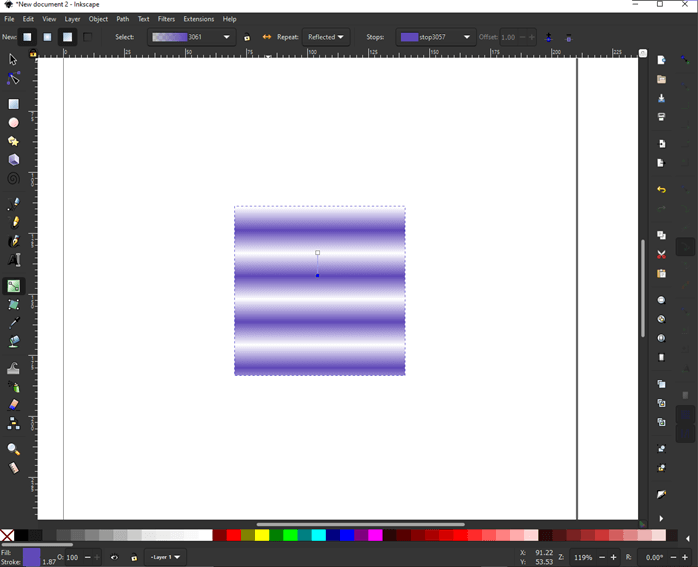
Step 14: By default, the repeat is none which means the area affected is only within the line so before and after the ends the color will be uniform. If you want to repeat this gradient then we can set the repeat mode to reflected.
Step 15: We can see it better if we reduce the size of the gradient line as a repeated pattern is created reflecting the start and end color.
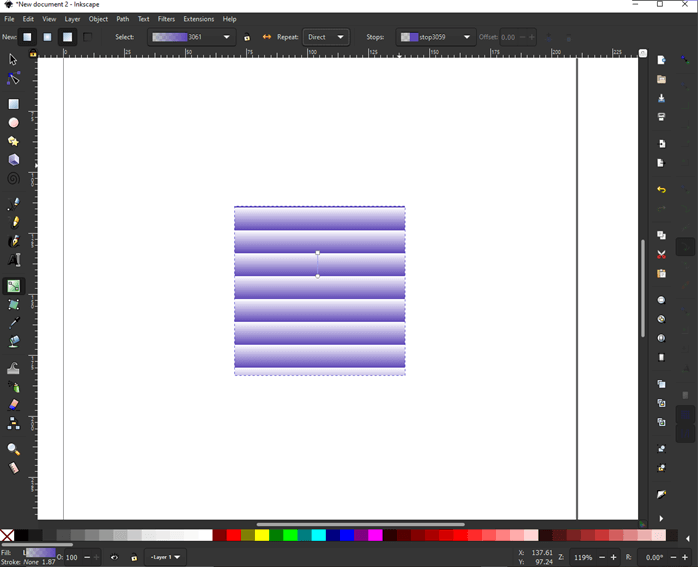
Step 16: Another option is direct in which the shades will be repeating directly and will give us abrupt change in color effect.
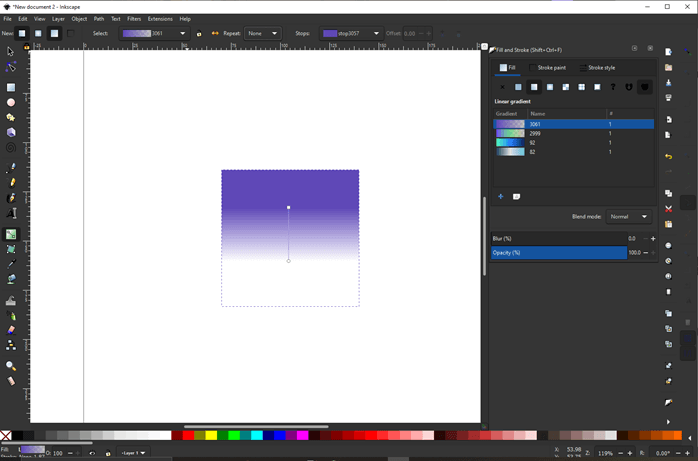
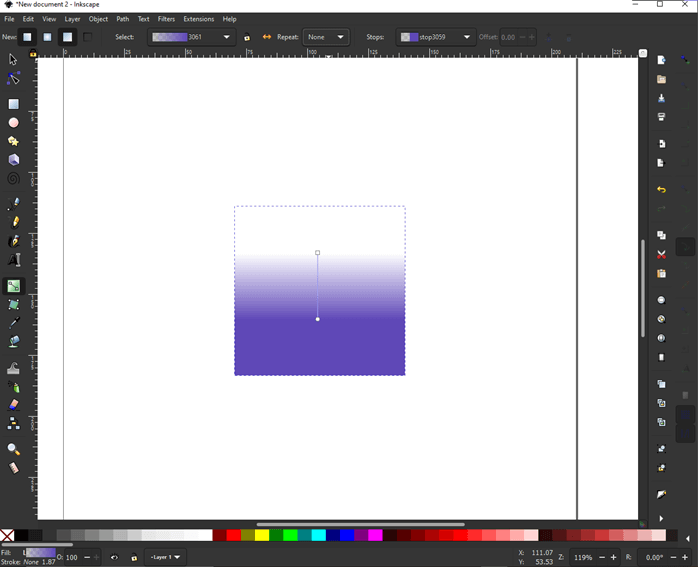
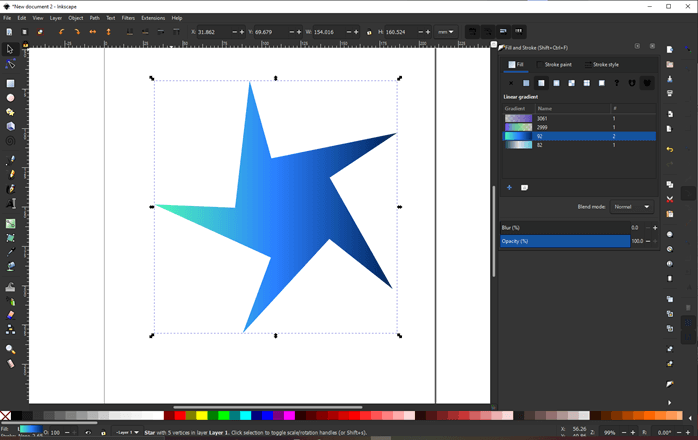
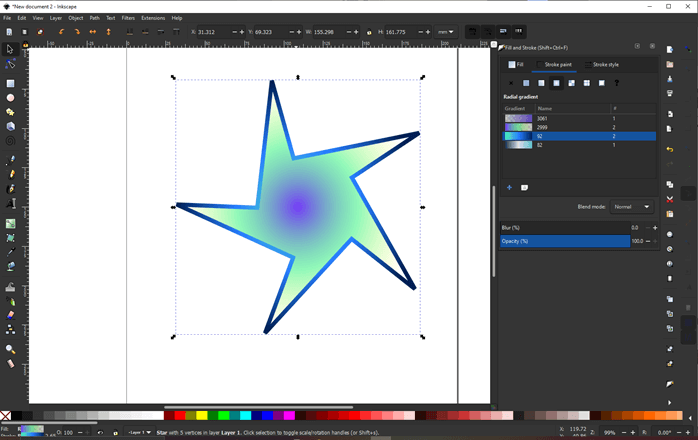
Step 17: We can reuse our gradient from the linear or gradient fill and stroke. First, create a shape using star and polygon tool. And select any of the existing gradients as the fill
Step 18: Similarly we can also use the existing gradient on strokes.
Conclusion
In this article, we have seen how to work with the gradient in Inkscape. Firstly, we have started with linear and radial gradients for fill on simple objects like squares and circles and then we have seen how we can apply on strokes as will. Then we have seen how to reuse the existing gradient on different objects without creating a new one.
Recommended Articles
This is a guide to Inkscape gradient. Here we discuss how to work with the gradient in Inkscape and we have seen how to reuse the existing gradient on different objects. You may also have a look at the following articles to learn more –
- Inkscape Alternatives
- What is Inkscape?
- Adobe Photoshop Alternatives
- UI Design Tools
How to Draw a Line With Gradient Shading in Inkscape
Source: https://www.educba.com/inkscape-gradient/
0 Response to "How to Draw a Line With Gradient Shading in Inkscape"
Enregistrer un commentaire